Building a connected space does not require thousands of dollars or a degree in computer science. Anyone can transform a living space into an automated home step by step. Starting small allows room to expand without spending money on hardware that is not needed. This guide breaks down four clear budget tiers from $100 to $1,000 to help select the right entry point.
The $100 Starter Setup: Quick and Easy Essentials
A modest hundred-dollar budget is completely sufficient to gain instant convenience. The primary goal at this entry tier is to establish simple voice controls and basic power automation.
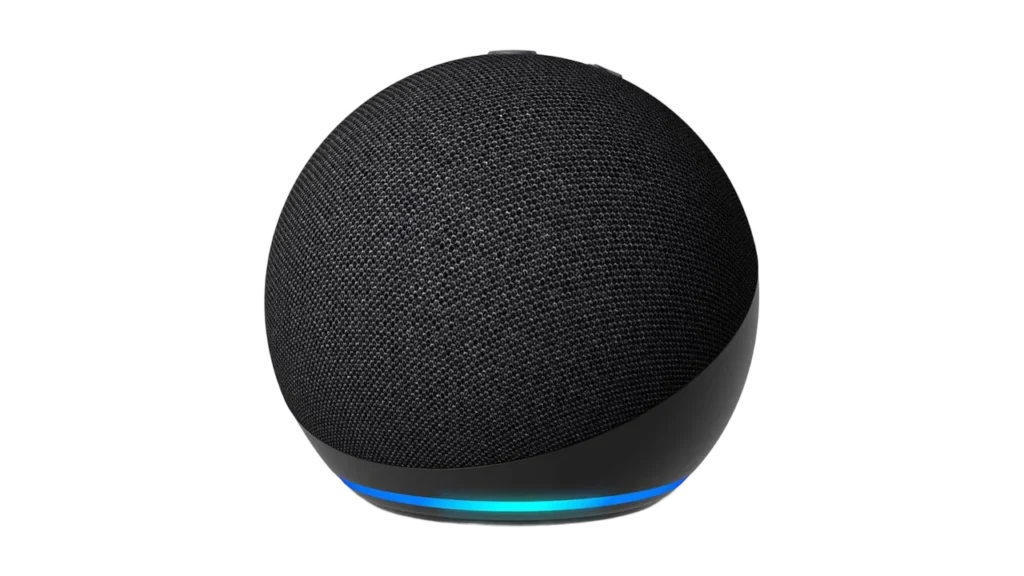
Image Credit: Amazon
Every automated space needs a central voice assistant or control point. Entry options like the Amazon Echo Dot or Google Nest Mini frequently sell for under fifty dollars. To maximize this budget, always look for bundled deals. Amazon frequently offers the Echo Dot packaged with heavily discounted bulbs.
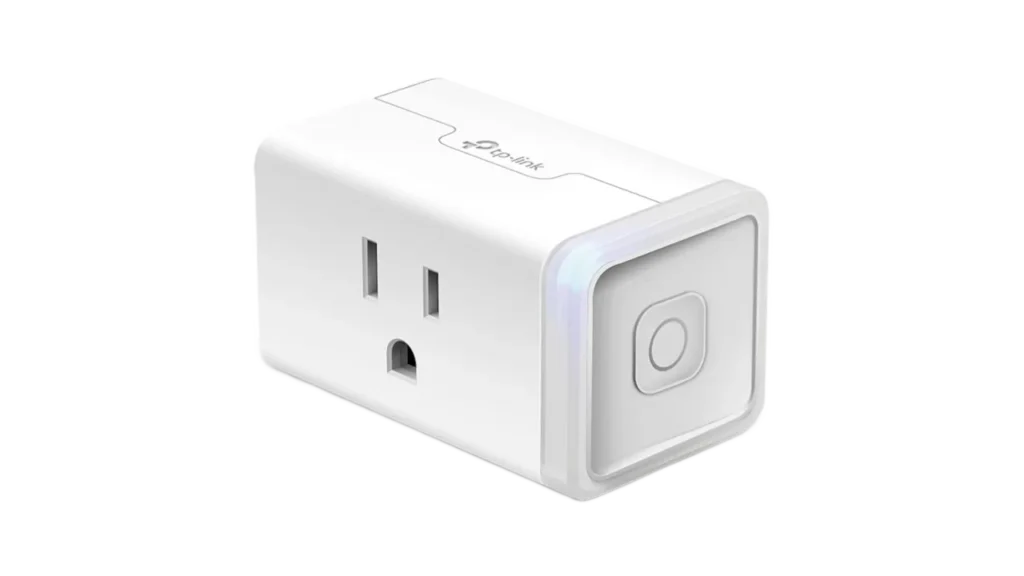
Image Credit: TP-Link
Pairing a budget smart speaker with a two-pack of Wi-Fi smart plugs like the TP-Link Kasa Smart Plug allows standard lamps or coffee makers to turn on automatically every morning. Adding a couple of budget color-changing bulbs like Wyze Bulb Color brings automated lighting schedules into the living room.
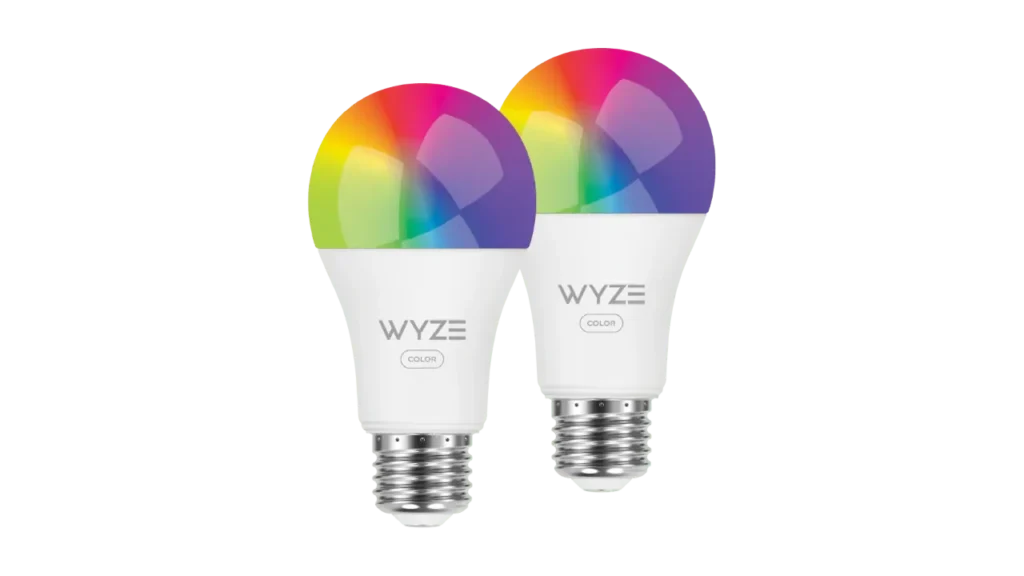
Image Credit: Wyze
The $250 Upgrade: Expanded Convenience and Entry Security
Moving up to a two-hundred-fifty-dollar budget allows for a broader network of automated convenience and basic front door security. This price point is the perfect starting place for Apple users, as the Apple HomePod Mini fits comfortably into this budget while leaving plenty of room for additional accessories.
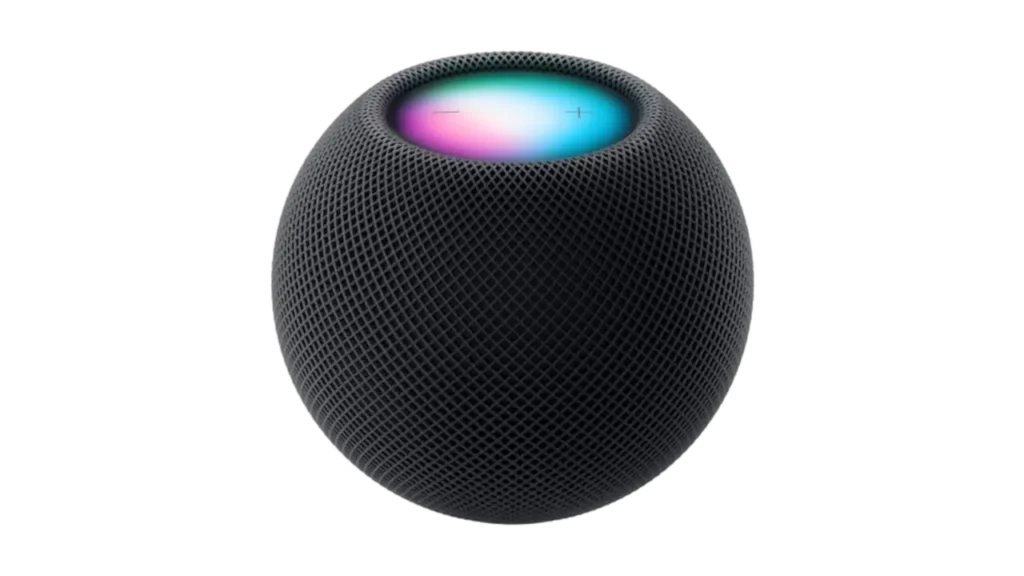
Image Credit: Apple
Instead of spending the majority of your budget on a screen hub, stick with an affordable voice assistant and focus your funds on adding an entry-level video doorbell like the Blink Video Doorbell or Wyze Video Doorbell. This approach leaves enough budget to drastically expand your lighting setup with additional smart bulbs and smart plugs throughout the house.
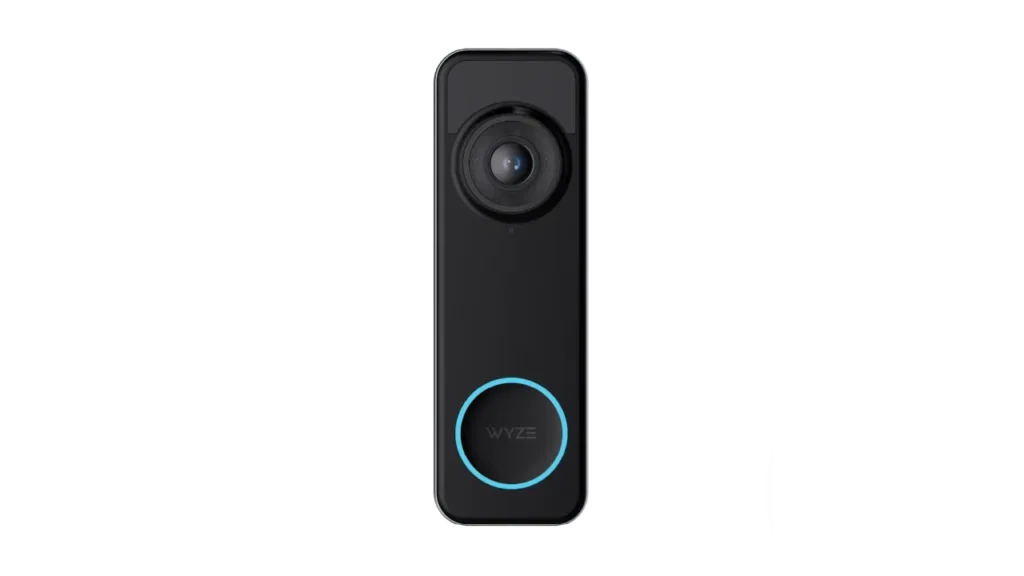
Image Credit: Wyze
Keep in mind that video doorbells often come with optional monthly subscription fees for cloud storage. Brands like Ring or Google Nest charge a few dollars every month to store recorded video history. Those who want to avoid monthly bills should look for options with local storage card slots.
The $500 Setup: More Comfort and Security
A five-hundred-dollar budget provides plenty of room to build a highly interactive setup focusing on front door security and visual convenience.
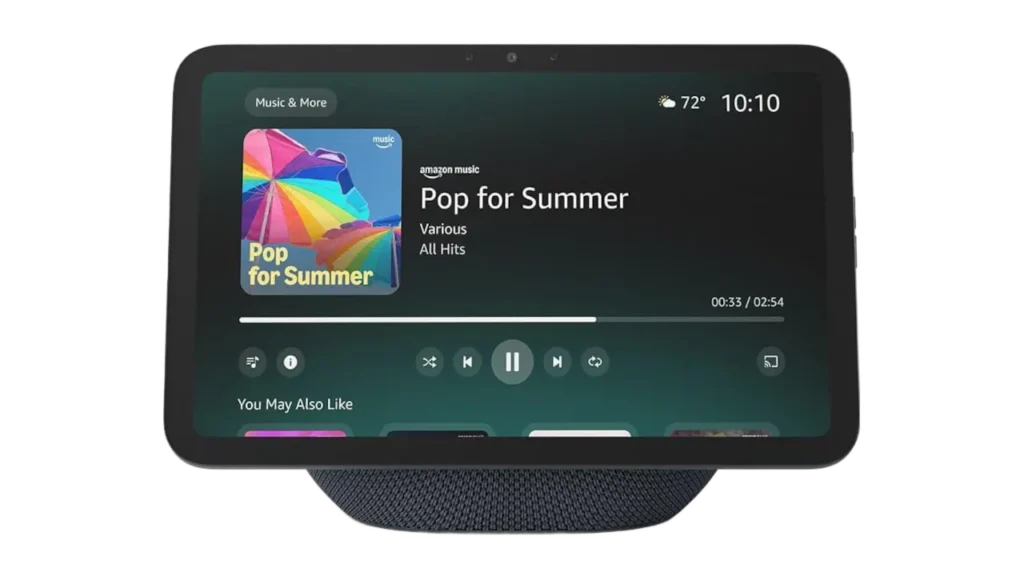
Image Credit: Amazon
At this tier, you can afford to upgrade your central control point to a screen hub like the Amazon Echo Show 8 or Google Nest Hub. A screen provides a fantastic visual dashboard to instantly view live camera feeds from an entry-level video doorbell as highlighted in the $250 setup above.
To make this setup even more powerful, you can add an affordable smart lock like the Yale Approach Lock with Wi-Fi or the Wyze Lock. These locks cost well under one hundred and fifty dollars, keeping you safely under budget. The true magic happens when you connect these devices together. When a visitor rings the doorbell, you can check your screen hub or smartphone to verify who is outside, and then unlock the door remotely without ever getting off the couch.
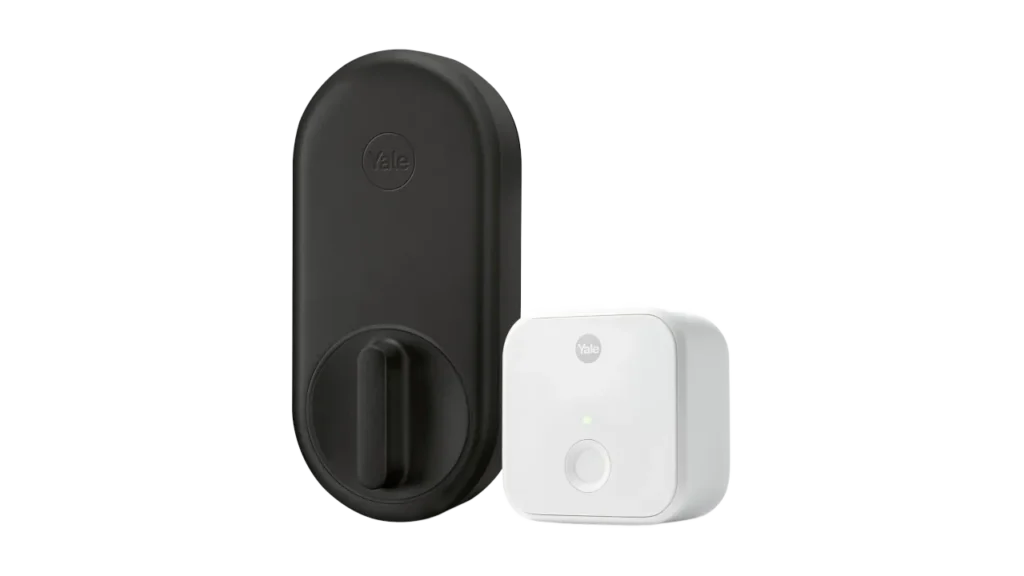
Image Credit: Yale
After securing the front door and setting up a smart display, you will still have over a hundred dollars remaining. You can use this leftover budget to scatter a generous handful of smart plugs and color-changing smart bulbs across multiple rooms, bringing complete automated lighting to your entire house.
Before buying devices individually, check for bundle deals. Retailers frequently discount smart locks and video doorbells when purchased together, saving extra cash for additional items like ambient LED light strips or smart bulbs. Keep in mind that most video doorbells carry optional monthly subscription costs for cloud storage history.
The $1,000 Ultimate Foundation: Network Power and Centerpiece Hubs
Building an automated home requires a solid foundation. If you spend one thousand dollars on gadgets but keep the cheap router provided by your internet company, those new devices will constantly drop offline. At this budget, your first priority is upgrading your network and central hub.
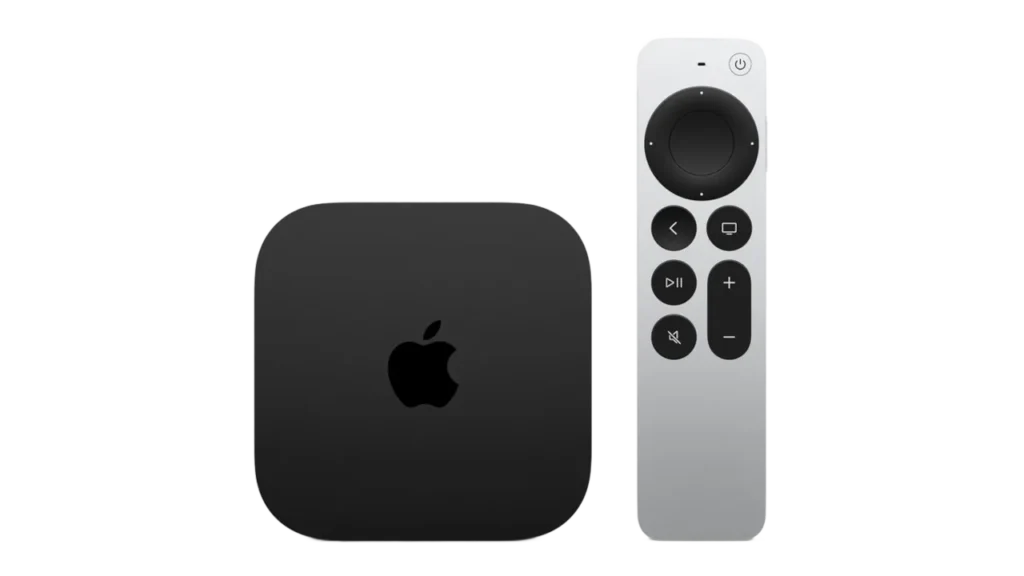
Image Credit: Apple
First, select a central hub that features a built-in Thread border router. This piece of hardware keeps modern devices responding instantly and prevents major networking headaches as your system grows. Your choice depends on which ecosystem you prefer:
- Apple Users: The Apple TV 4K Wi-Fi + Ethernet is a top choice. You must select the Ethernet model to get Thread support.
- Google Users: The Google TV Streamer provides the exact same networking power for roughly one hundred dollars.
- Amazon Users: The Amazon Echo Show 8 serves as a visual control panel and a Thread border router in one package.
Once you pick your single primary hub, pair it with a new mesh network. How you spend the remaining budget depends on your property size and future plans:
The Balanced Value Route: If you live in a standard-sized home, you can opt for a highly rated but more affordable mesh system like the TP-Link Deco AXE5400 Mesh System. Pairing this with your hub takes up between three hundred fifty and five hundred dollars of your total budget. After grabbing the video doorbell, budget smart lock, and smart lighting package from the five-hundred-dollar tier, you will still have two hundred to three hundred dollars remaining. You can use this extra cash to install a smart thermostat like the Ecobee Smart Thermostat Enhanced to lower monthly energy bills, or add dedicated outdoor security cameras to monitor your yard.
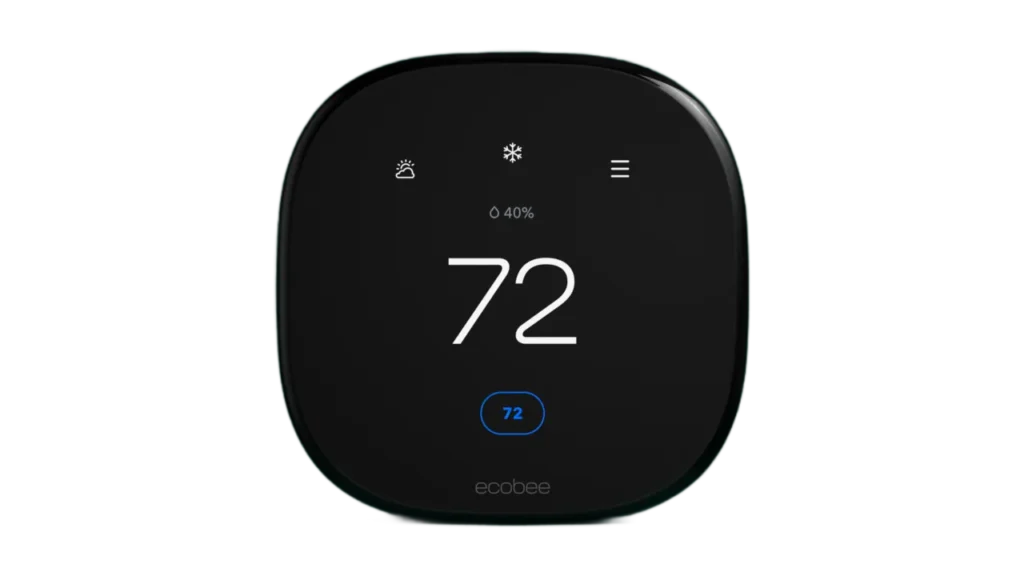
Image Credit: ecobee
The Premium Network Route: If you own a large property or a big garden, you should invest heavily in a top-tier mesh system like the three-pack eero Pro 6E. A premium network is critical if you plan to eventually add outdoor Wi-Fi access points to support a robot lawn mower, smart irrigation systems, or multiple exterior security cameras. Combining this expensive network with your chosen hub leaves roughly three hundred dollars for a few smart plugs and bulbs to get started inside.
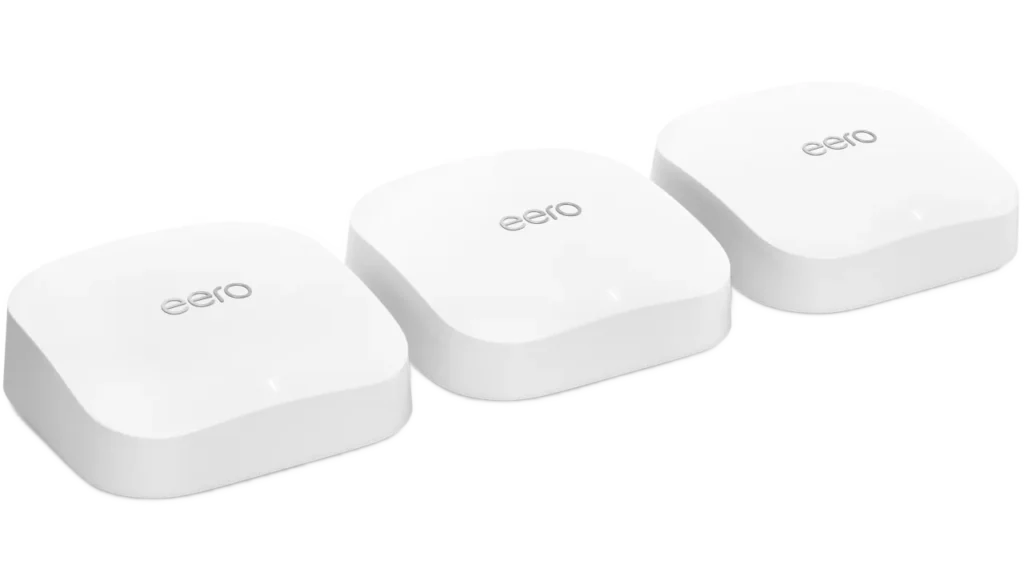
Image Credit: Amazon
Essential Guides to Bookmark
Before buying and installing new automated hardware, review these foundational guides to ensure smooth setup and keep devices running reliably:
- Safety Limits for Automated Plugs: Review What Not to Plug Into a Smart Plug to keep high-draw electrical appliances safe.
- Voice Assistant Commands: Clean up room controls and speaker responses with Fix Voice Assistant Naming Errors
- Front Porch Security: Discover how to Stop Porch Pirates With Smart Tech
- Future-Proof Protocols: See how unified connectivity standards keep hardware working together, and why your smart home needs Matter and Thread
- Network Coverage Expansion: Solve connection drops and eliminate Wi-Fi dead zones across the house upgrading to a Mesh Wi-Fi Network
- Hidden Camera Subscriptions: See how to stop paying cloud fees and secure your camera footage and avoid expensive monthly bills.