
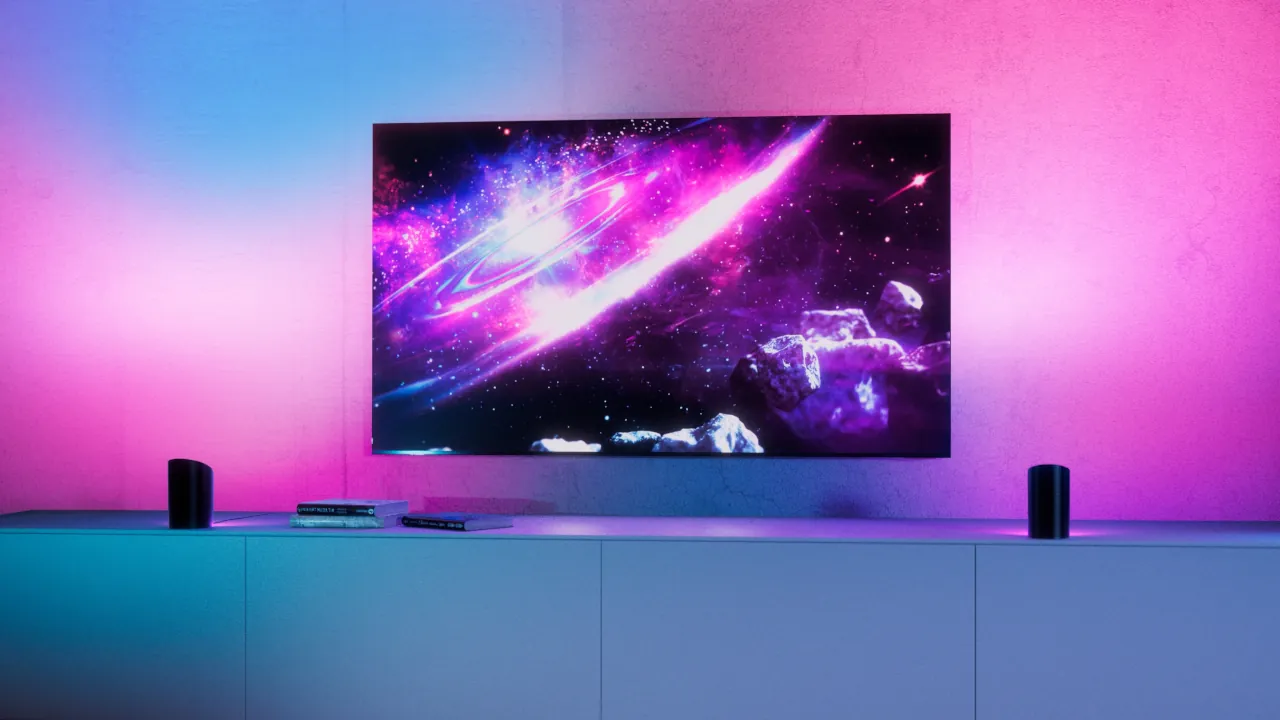
The lights dim, the curtains close, the screen wakes up, and the sound system takes over. All of it from one tap, or one sentence said out loud. A movie night scene is the most satisfying thing you can build with smart home gear, because the payoff is instant and every guest notices it. You probably already own half the pieces. This guide covers how to build one, how far to take it, and how to reshape it for the bedroom, a living room full of friends, or a birthday party full of eight year olds.
What a Movie Night Scene Does, and How Far to Take It
A scene is a saved snapshot of how you want a room to look and sound. Think of the memory buttons on a car seat. You get everything right once, save it, and never adjust it again.
The part that makes it feel deliberate is timing. In a proper scene, your lights do not fade one by one over ten seconds. They move together, which is the difference between a designed room and a room where things happen to be switching on.
Two words worth separating before you start. The scene is the destination, meaning the state you want the room to reach. The trigger is how you get there, whether that is your voice, a wall button, or a tap in an app. Build the scene first. Attach triggers afterwards.
Most people stop at one of three levels, and there is no shame in stopping early:
- Tier 1. Lights, sound and screen. Twenty minutes of setup, works with inexpensive hardware, and covers most of the value.
- Tier 2. Adds window coverings and older AV equipment. This is where daytime viewing becomes practical and where a fifteen year old receiver rejoins the party.
- Tier 3. Adds signalling and comfort. Telling the rest of the household a film is running, adjusting the bed, handling the mid-film bathroom trip.
If you only build Tier 1, build lighting and sound. Those two produce the biggest visible change for the least effort.
Lighting That Sets the Mood
Lighting does the heaviest lifting. The goal is contrast, not darkness. A fully black room causes eye strain over two hours, so a small amount of warm light behind the screen is more comfortable than switching everything off.
There are two honest routes here, and which one suits you depends on how far up the tiers you plan to go.
The integrated route. A Philips Hue Bridge Pro with Hue bulbs, and Hue Smart Plugs for lamps that cannot take a smart bulb. Everything runs on Zigbee behind a single bridge. That means one device on your Wi-Fi no matter how many lights you add, and it keeps working without the internet because the bridge handles control locally. Full scene capability is visible to your voice assistant. It costs roughly double per device, but the cost stays flat as you scale.
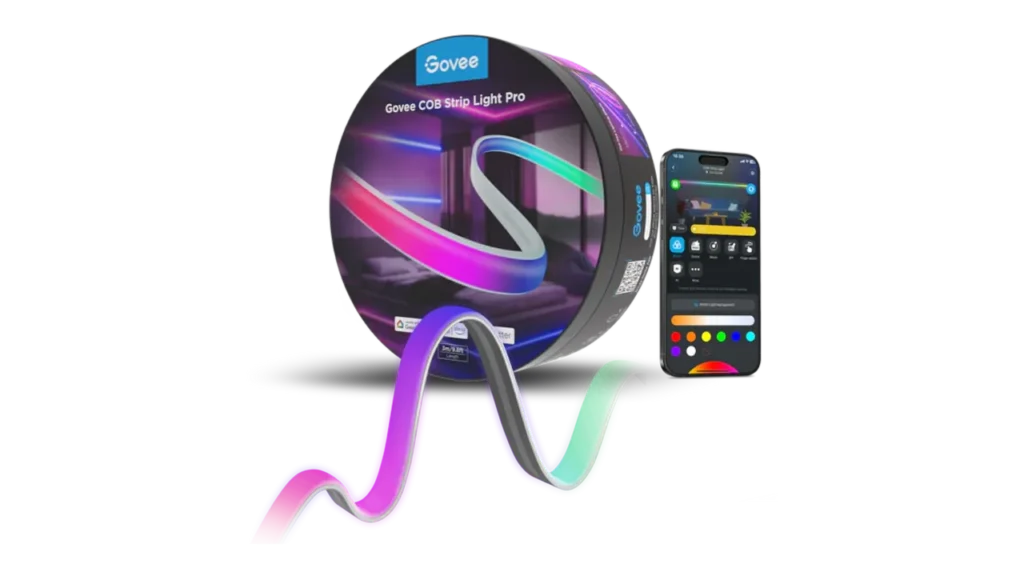
Image Credit: Govee
The budget route. Govee lights are considerably cheaper and genuinely fine at Tier 1. Two limits are worth knowing before you commit. Every Govee device is its own Wi-Fi client, since no Govee product supports Thread. And Govee’s own documentation confirms that Matter exposes only on/off, brightness, color temperature and color. The segment effects and scene modes that make Govee appealing stay locked inside the Govee app, so a voice-triggered scene cannot call them.
Settings that make a real difference either way:
- Set overhead lights to around 5 percent rather than fully off.
- Use warm white or amber behind the screen, never cool blue.
- Give the scene a one second fade so the change reads as intentional.
For lights that react to what is on screen, a hardware box like the Hue Sync Box 8K reads the HDMI signal directly and pushes matching colors in real time. We covered the options in our guide to lighting that follows your screen. If you are still deciding on bulbs at all, start with choosing the right bulbs.
Curtains and Blinds for a Proper Blackout
Daytime viewing is where most living rooms fall apart. Sunlight lands on the panel and contrast collapses. Motorized window coverings fix this in about four seconds.
Three approaches, in rising order of cost and permanence:
- Retrofit motors over Bluetooth. The SwitchBot Curtain 3 clips onto your existing rod or U rail with no tools. It runs on a rechargeable battery and has a quiet mode below 25dB, which matters when it moves mid-film. A hub is required for voice control.
- Retrofit motors over Zigbee. The Aqara Curtain Driver E1 does the same job on a different radio, handling curtains up to 12kg with a battery rated around a year. It has a built-in light sensor, so it can also close on brightness rather than only on command.
- Full replacement shades. Motorized roller blinds cost considerably more and involve actual installation, but they deliver genuine blackout in a way that retrofitted curtains rarely match.
A quiet advantage of both retrofit options: neither adds a Wi-Fi client to your network, since they reach their hub over Bluetooth or Zigbee. If your 2.4GHz band is already busy, that matters more than the price difference.
One ordering note. Close the curtains before dimming the lights. If the lights drop first, the room brightens again as the curtains finish moving, and the whole sequence looks backwards. Our guide on upgrading curtains without wiring covers installation in detail.
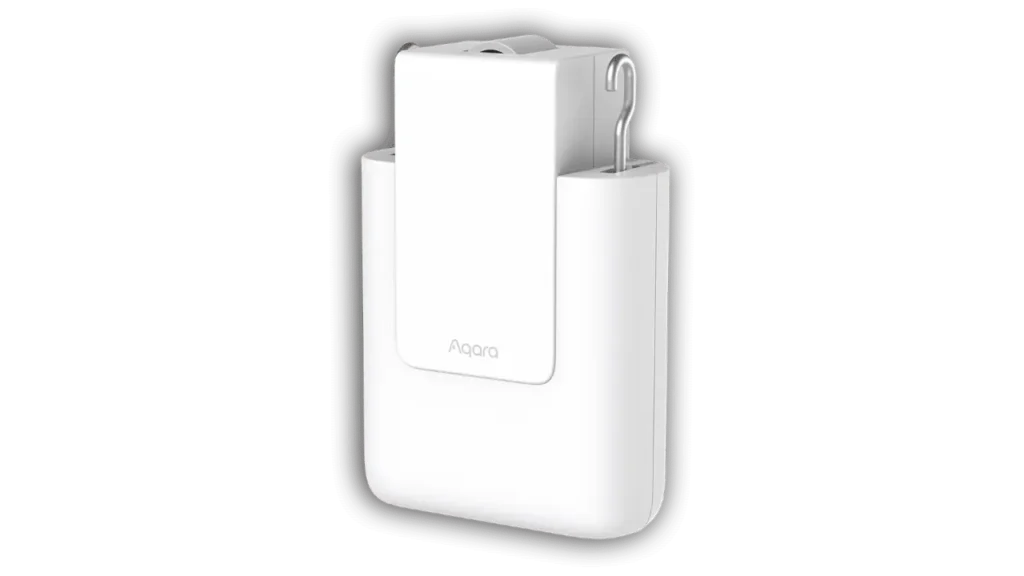
Image Credit: Aqara
Sound That Switches Over on Its Own
Audio is the piece most people forget to automate. It is also where cross-ecosystem promises fall apart fastest.
Here is what the box will not tell you. No wireless speaker works properly with all three major ecosystems, because each one uses its own streaming protocol. Apple uses AirPlay 2, Google uses Chromecast, and Amazon uses Alexa Cast. Buy for the ecosystem you actually run:
- Google or Apple households. The Audio Pro C5 MkII W supports Google Cast and AirPlay 2 together, which covers both. The larger C10 MkII W does the same in a bigger cabinet.
- Alexa households. The Sonos Era 100 has Alexa built in, with the Era 300 as the larger option. Neither works with Google.
Two traps catch people at the checkout page.
A streaming service is not a voice assistant. Spec sheets often list Amazon Music among supported services. That means the speaker can play Amazon Music. It does not mean the speaker works with Alexa. Check the multiroom or compatibility line instead, because that is where ecosystem support actually appears.
Newer is not always more compatible. Sonos dropped Google Assistant on the Era range and never added Google Cast, so an Era 100 cannot be grouped with a Nest Mini. That surprises people upgrading from an older Sonos One, which did support Google Assistant. If you own Sonos and stay within Apple or Alexa, you can control Sonos with Hue switches for a physical wall button.
One buying rule outlasts all of this. Check for an analog line input. The cabinet and drivers stay good for a decade. The streaming board is the part that ages, and a speaker with an RCA input can be revived with a cheap streamer long after its built-in protocols stop mattering.
Two settings to build into the scene: a fixed starting volume so the opening is not shouting, and ungrouping the living room so the kitchen does not get film audio. Our multi-room audio guide covers grouping properly.
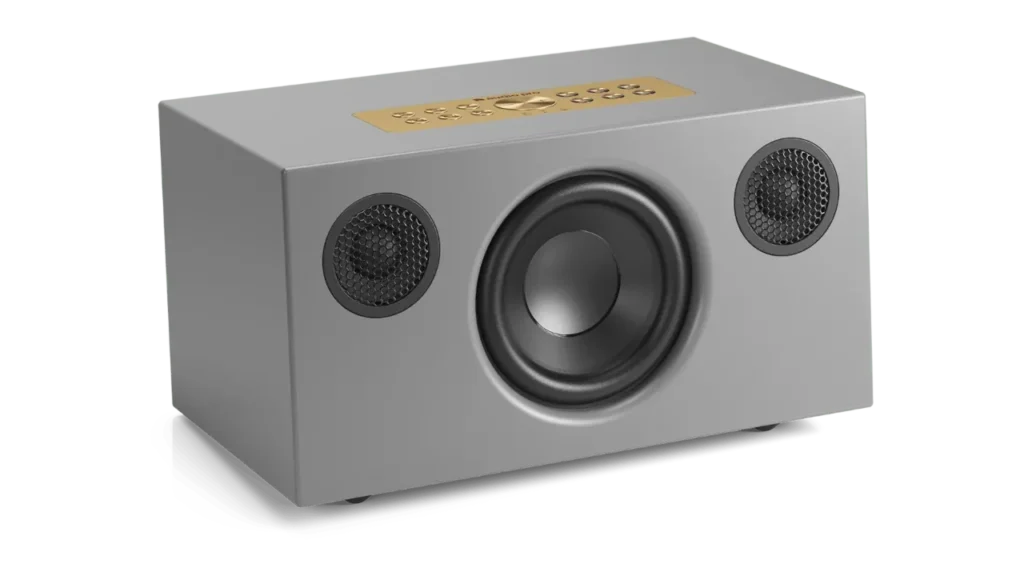
Image Credit: Audio Pro
Bringing Older AV Gear Into the Scene
Plenty of perfectly good receivers, projectors and televisions have no smart features at all. They are not out of the running.
An infrared bridge stores the remote codes for your existing equipment and fires them on command. The SwitchBot Hub 3 handles this and doubles as a Matter bridge, so old gear becomes visible to Apple Home, Google Home and Alexa. The Broadlink RM4 Pro is the other established option. Our piece on bringing older gear online explains the approach.
For equipment with no remote at all, a smart plug handles simple on and off. Two routes again:
- Already own a Hue Bridge? The Hue Smart Plug joins it over Zigbee, keeps everything in one system, and works during an internet outage. It handles up to 1800W on the US version.
- Starting fresh? A Matter plug like the Tapo P125M costs roughly half and works across all four major ecosystems without a bridge. Our Matter plug comparison covers the alternatives.
Before you plug anything into anything, read what not to plug in. High-draw equipment has real limits and a projector is closer to that line than people expect.
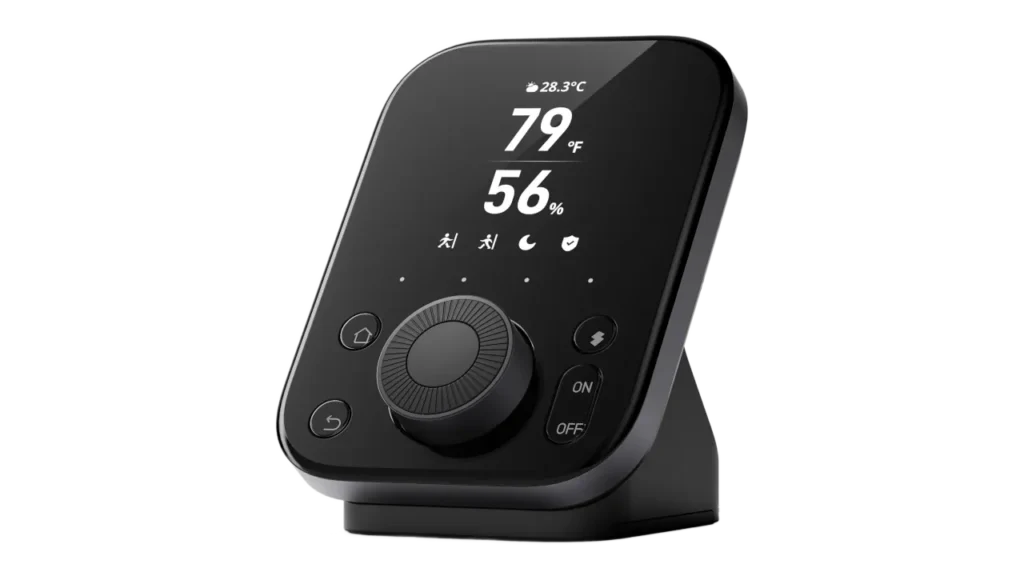
Image Credit: SwitchBot
Building the Scene in Your Ecosystem
The concept is identical everywhere. Only the menu names change.
Google Home. Open the app and go to Automations. Tap the plus icon and choose to build your own. Under Starter, pick a voice command and type your phrase. Under Action, add each device and set its state. Save, then test by speaking the phrase. Google lets you stack many actions under one starter.
Apple Home. Open the Home app, tap the plus icon, then Add Scene. Choose Custom and name it. Tap Add Accessories, then press and hold each one to set its exact state. Tap Test This Scene before saving. You need a home hub for this to run reliably, and our guide to picking an Apple hub covers the options.
Amazon Alexa. Open the app, tap More, then Routines. Tap the plus icon and name it. Under When this happens, choose Voice and type your phrase. Under Add action, select Smart Home and configure each device. Alexa also offers a Wait action, which is useful when a television needs a few seconds to boot before it will accept an input change. If you need hardware, the Echo Dot Max makes a solid starter hub.
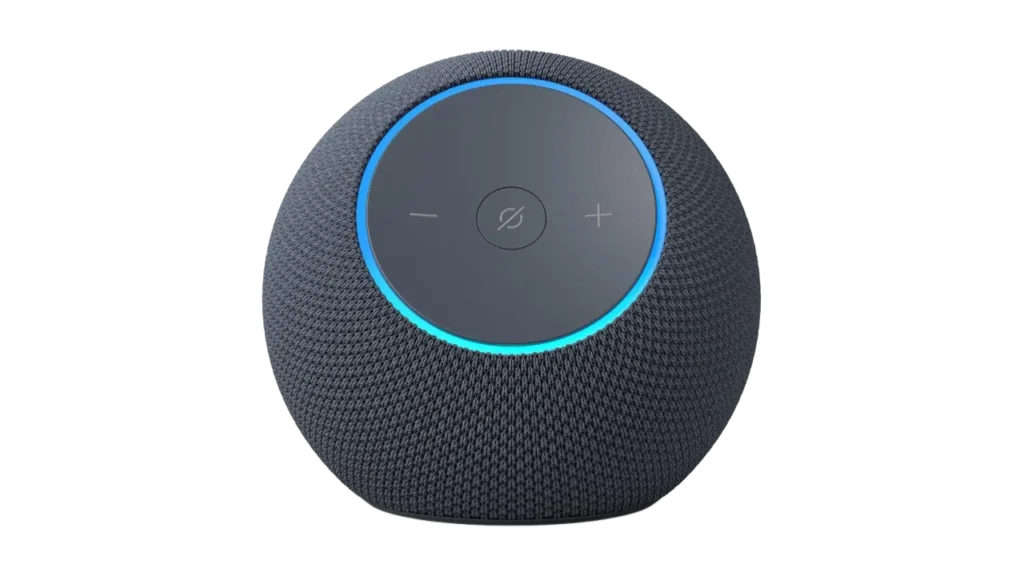
Image Credit: Amazon
Choosing the Right Trigger
The scene exists. Now decide how it fires:
- Voice command. Fastest, but useless to guests who do not know the phrase.
- A physical button. Best for children and visitors. Nobody needs an app.
- App shortcut or widget. Good for adjusting things mid-film.
- Time based. Fires every evening at the same hour, which suits routine viewers.
Most households land on two triggers for the same scene. A voice phrase for whoever built it, and a wall button for everyone else.
Three Movie Nights, Three Different Scenes
One scene will not cover every occasion, because the requirements genuinely differ.
In bed with a partner. Lower starting volume, overheads off completely, and a single dim bedside light rather than bias lighting behind a screen you are lying beside. If you have an adjustable bed base, the head section can raise as part of the scene, which is the detail that makes this feel considered. Add headphones as an option so one person can fall asleep, and consider whether your smart bed features can join in.
In the living room with friends. Brighter than you think. People need to find the bathroom, the snacks and their drink. Keep hallway and floor lighting at 15 to 20 percent rather than off. Mute the doorbell chime and route it to a phone notification instead. If guests will be controlling anything, our guide to sharing access safely covers doing that without handing over your whole account.
At a child’s birthday party. Shortest and brightest of the three. Young children find full blackout genuinely unsettling, so keep overheads at 30 percent. Build a separate pause scene that brings lights to 60 percent for snack breaks, since you will use it repeatedly. Skip the closed curtains entirely if the party is in daylight and the screen is bright enough.
Automations Most People Never Think Of
This is Tier 3, and it is where a scene stops being a party trick.
- Signal the rest of the house. A smart bulb by the door, set to a specific color when the film scene is active, tells everyone a film is running before they walk in talking. Simple, and surprisingly effective in a household with children.
- Light the pause. Tie a second scene to your pause action so lights rise to 30 percent when the film stops and drop again when it resumes.
- Handle the mid-film trip. Motion-triggered floor lighting in the hallway means nobody switches on a ceiling light and blinds the room. Our guide to motion sensor nightlights covers placement.
- Silence the interruptions. Suppress the doorbell chime for the duration and send a visual notification instead.
- Close it out. An end scene that brings lights to 40 percent and reopens curtains saves you fumbling for a switch at midnight.

Image Credit: Signify / Philips Hue
Common Setup Mistakes to Avoid
- Vague device names. If two lamps are both called Lamp, voice control becomes unpredictable. Our guide on naming devices clearly fixes this in ten minutes.
- A weak network. A scene touching eight devices at once exposes a struggling router. Consider whether a stronger network foundation is the real problem.
- Ignoring Matter. Mixed-brand scenes hold together far better on shared standards. Here is why Matter and Thread matter.
- Skipping the test run. Always fire the scene once with the room in its normal state before you rely on it in front of guests.
If individual lights keep dropping out, that is a connection problem rather than a scene problem, and our fixes for bulbs that stop responding will sort most cases.
Where to Take This Next
Your first scene takes about twenty minutes. Your third takes five, because by then you understand how your ecosystem thinks.
The architecture also transfers. Dinner, reading, morning routines and parties all use the same pattern of lights, sound, window coverings and a trigger. Only the values change. Once the movie night scene works, duplicating it and adjusting the numbers is genuinely quick.
If you are still assembling the underlying kit, our budget smart home plans show what to buy in what order.
Image Credit: Signify / Philips Hue (Lifestyle photo)